関連記事
- LangGraphとは
はじめに
この記事は、「Slackで社内文書検索 1/4回(Slack APIアプリの作成と設定編)」の続きです。 開発の流れは以下の通りです。
開発の流れ
- Slack APIアプリの作成と設定
- Vertex AI Searchのアプリの作成とデータストアの自動更新
- Slackからのコマンドとメッセージの受信
- 任意のLLMによる回答生成
今回はVertex AI Searchのアプリの作成とデータストアの自動更新について説明していきます。 ※今回の開発では社内文書をPDF(非構造化データ)と想定しています。あらかじめCloud Storageにバケットを作成し、PDF形式の社内文書がアップロードしておいてください。
Vertex AI Searchのアプリの作成
こちらの記事を参考にVertex AI Searchのアプリの作成を行います。ただし、以下の内容に従ってください。
Vertex AI Searchのアプリ選択内容
- データストアのデータソースはCloud Storageを選ぶ
- データの種類は非構造化データを選ぶ
データストアの自動更新
今回のデータストアの自動更新は任意のCloud Storageが更新されるとそれをトリガーにしてCloud Functionが実行され、Vertex AI Searchのアプリのデータストアを更新するという仕組みです。 処理は以下の通りになります。

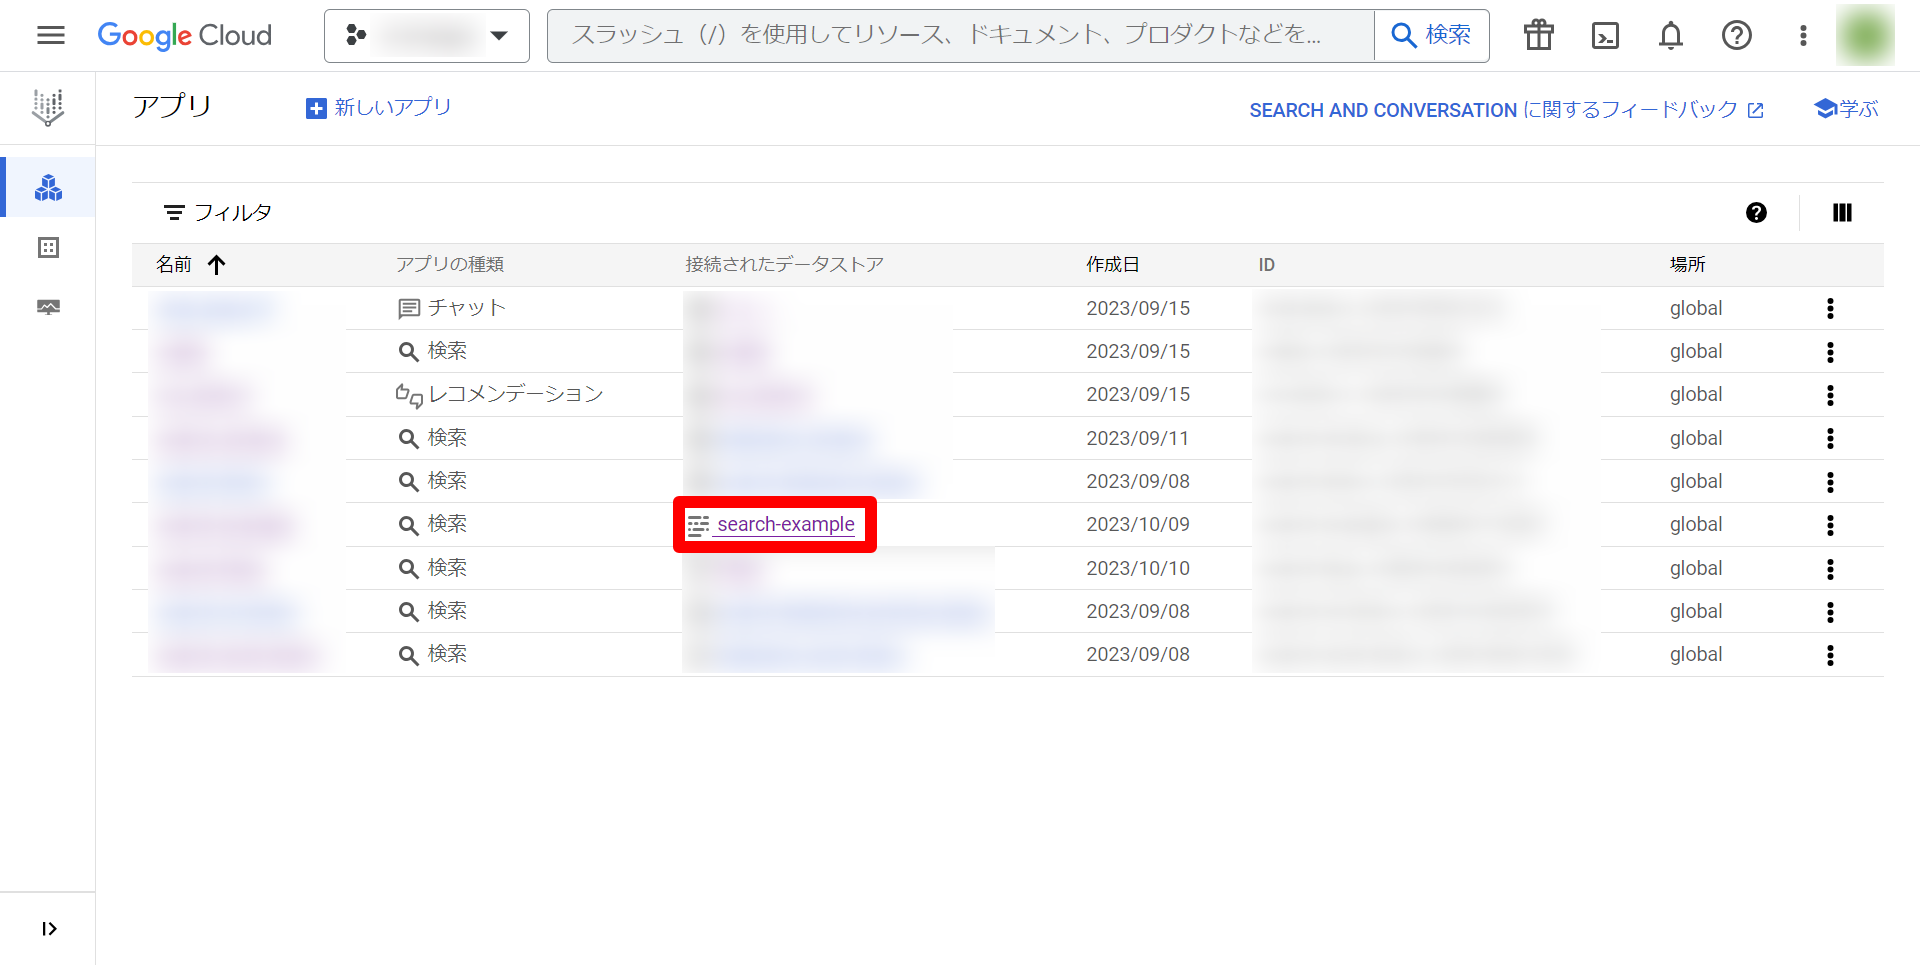
1. Vertex AI SearchのアプリのデータストアのIDを取得
まず、Vertex AI Searchのアプリの一覧ページに移動し、上記で作成したアプリの接続されたデータストアを選択します。今回は「search-example」というデータストアを作成しました。
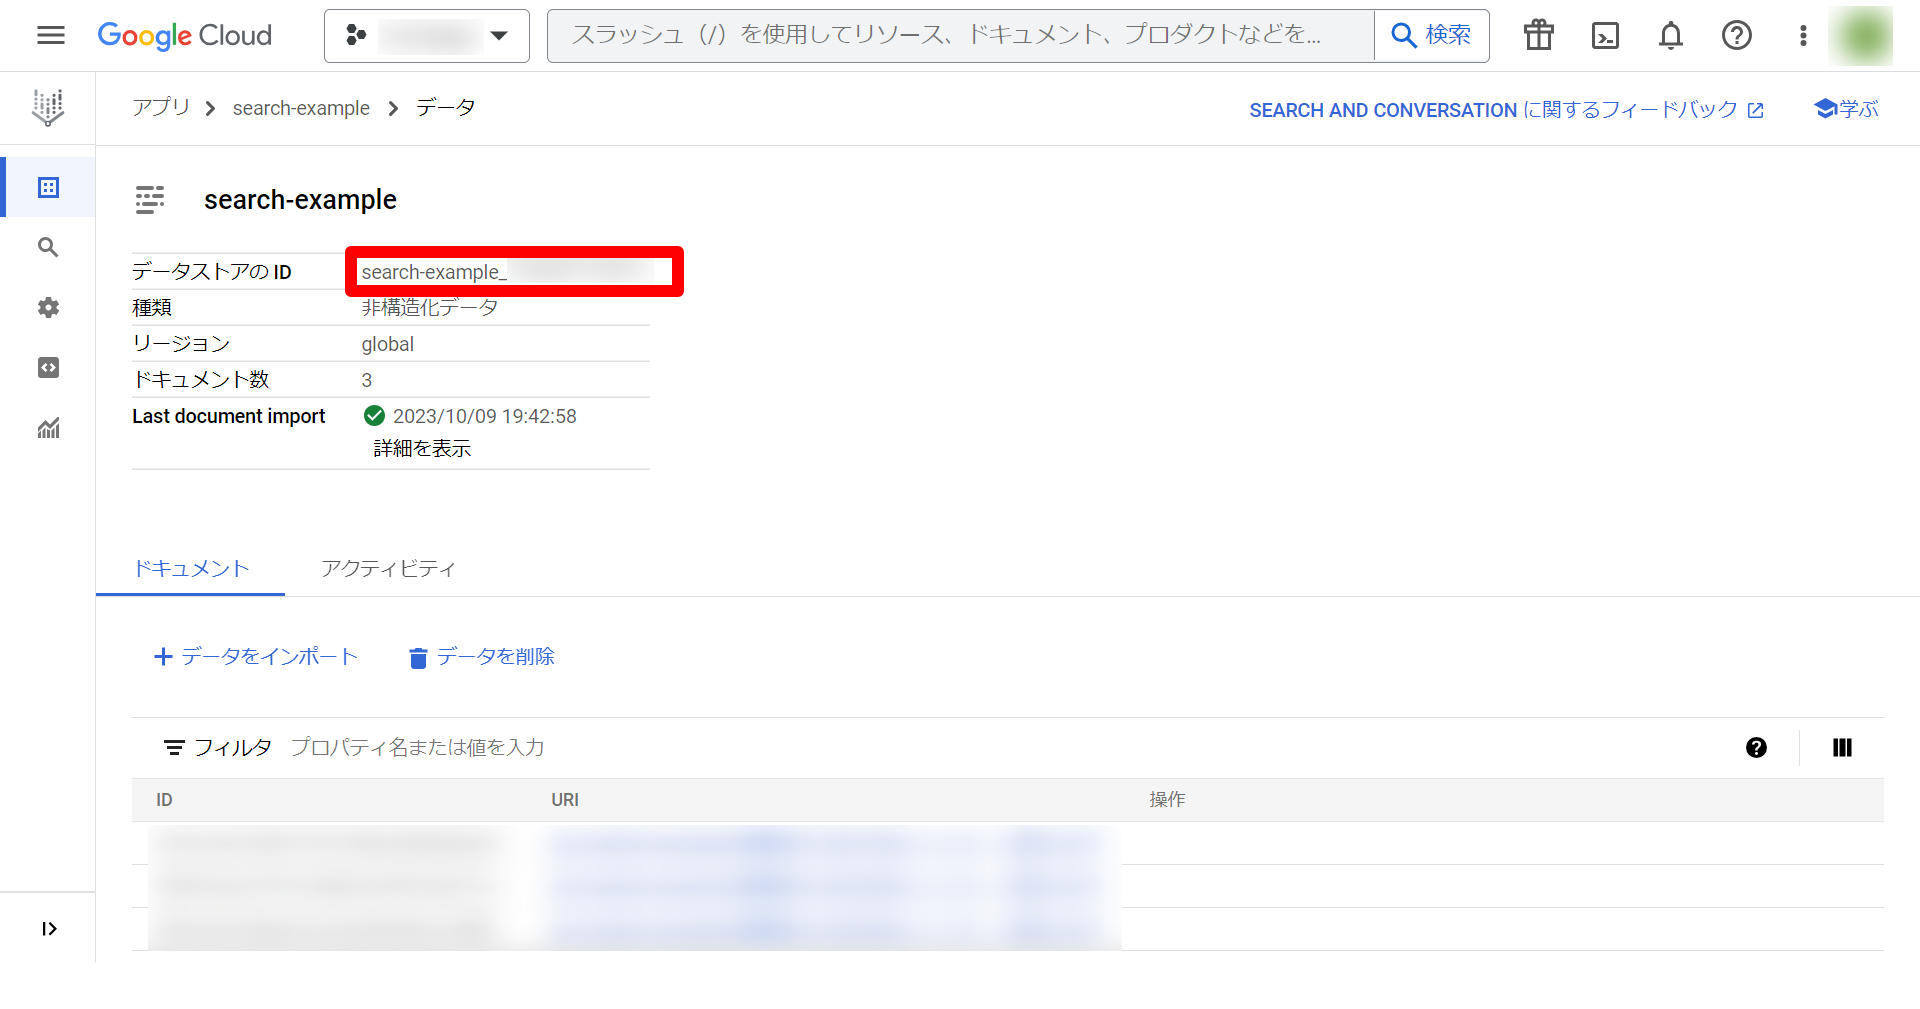
 次に、移動した先のページのデータストアのIDをコピーします。
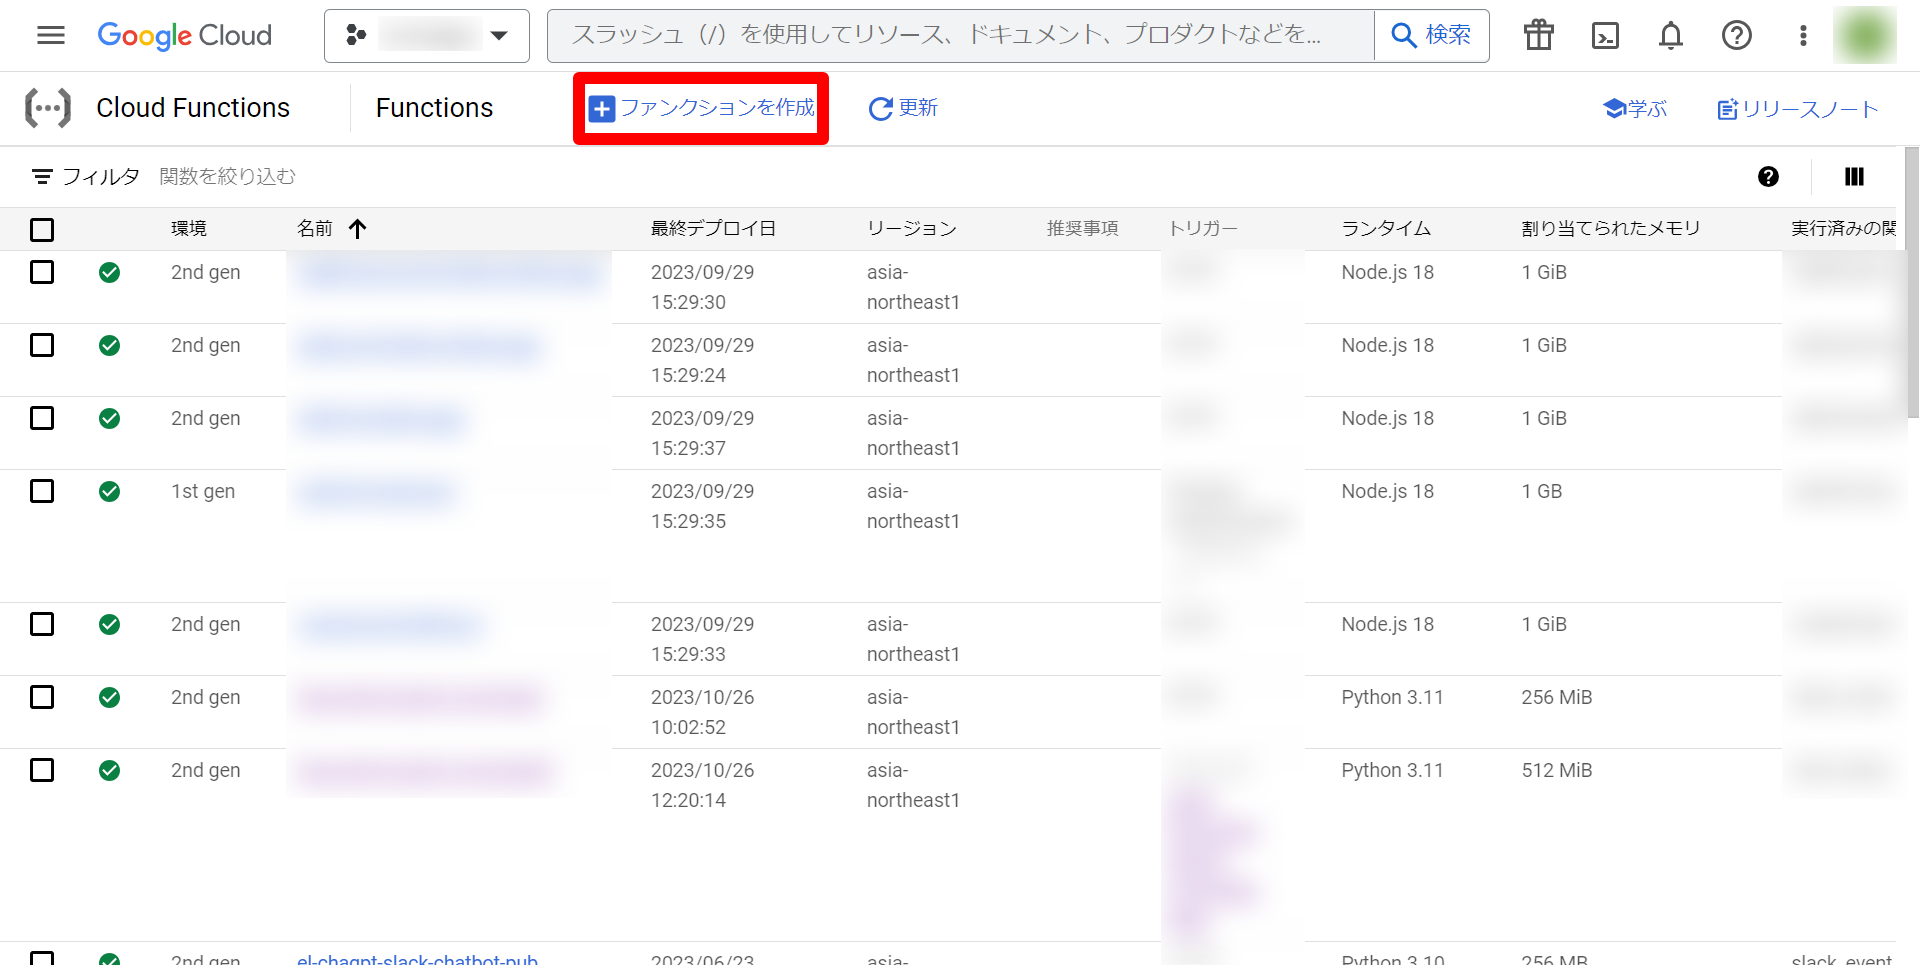
2. Cloud FunctionsでFunctionを作成する。
まず、Cloud Functionsのページに移動し、ファンクションを作成を選択します。
 次に、ファンクションの構成の入力項目を埋めて、次へを選択します。以下の入力項目に書いていない項目についてはデフォルトの値のままにしています。
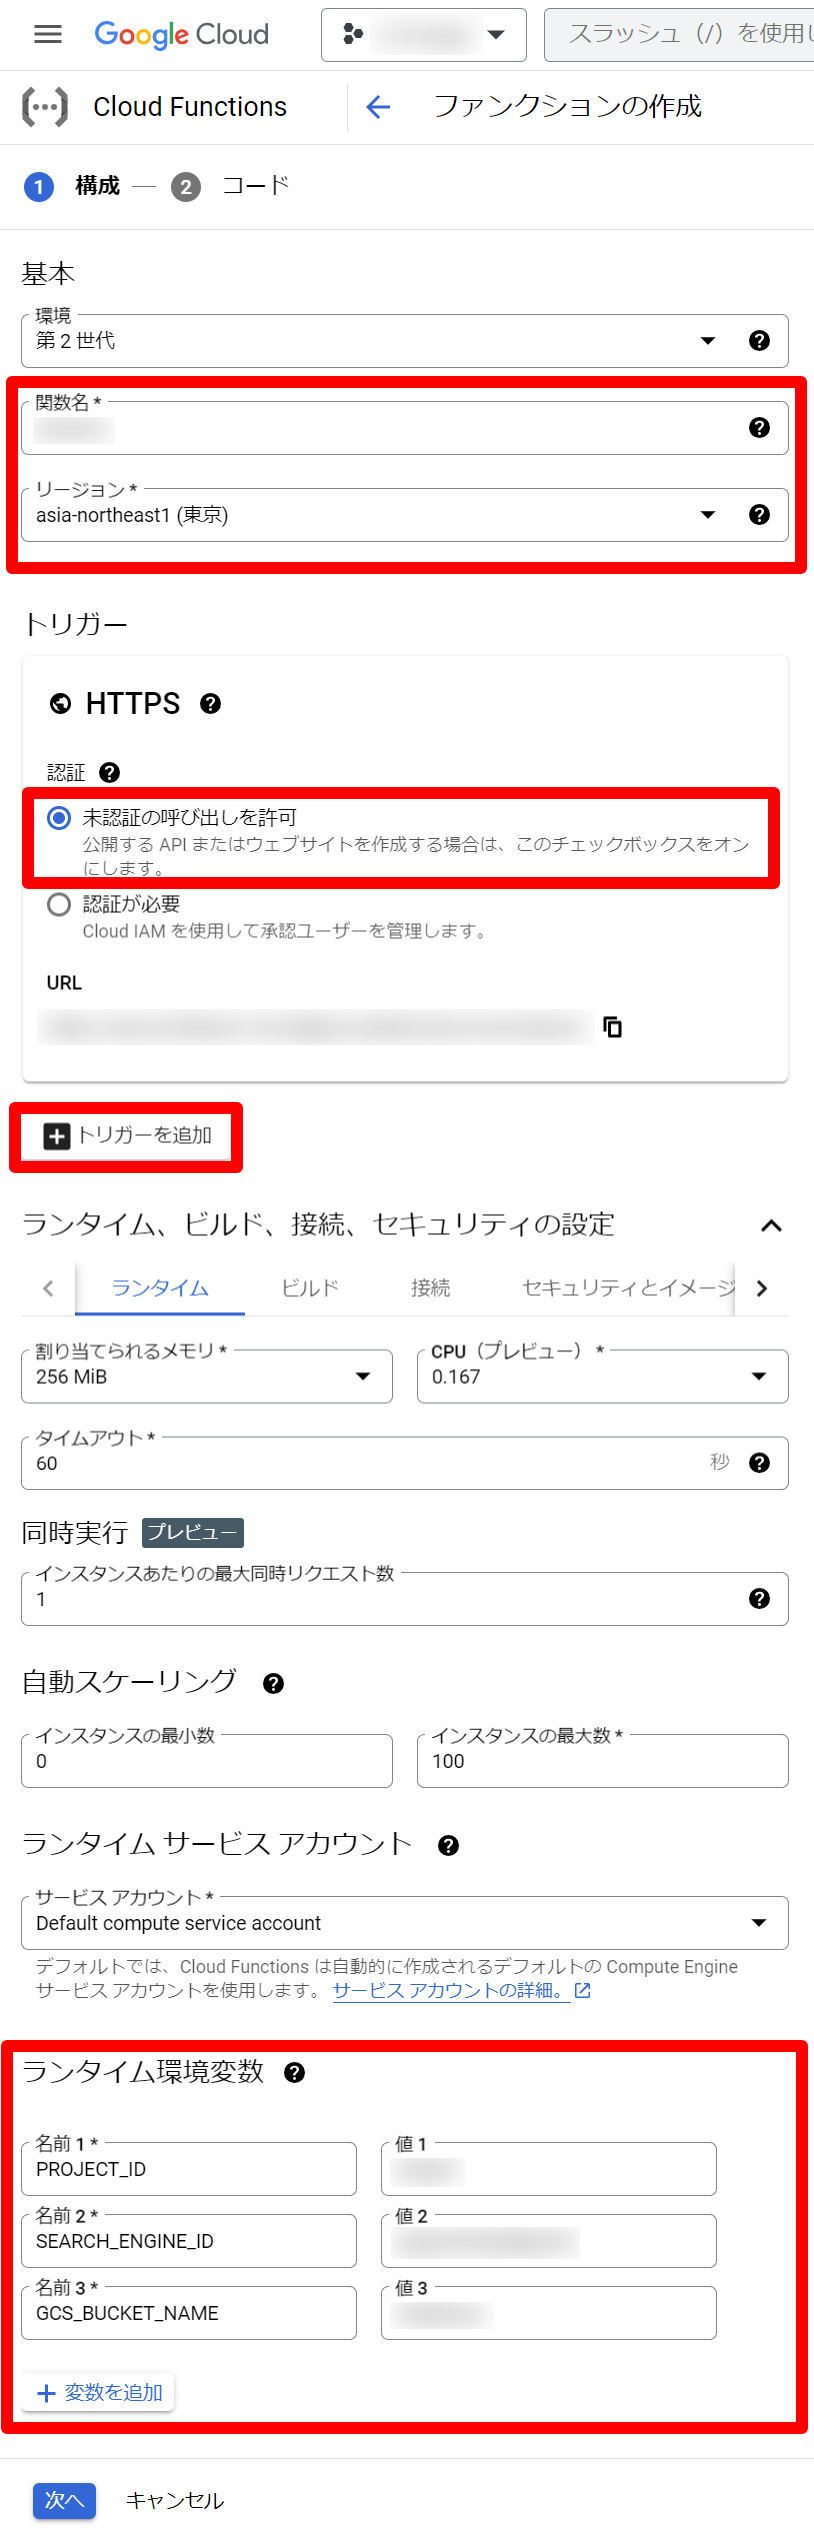
入力項目
- 関数名
- 任意の名前
- リージョン
- asia-northeast1(東京)
- トリガー
- HTTPS
- 未認証の呼び出しを許可を選択
- トリガーの追加
:::details 説明
- ランタイム環境変数
- 変数を追加を選択して、以下の3つの変数を追加します。
| 名前 | 値 |
|---|---|
| 名前 | 値 |
| PROJECT_ID | Google Cloud のプロジェクトID |
| SEARCH_ENGINE_ID | こちらで取得したデータストアのID |
| GCS_BUCKET_NAME | GCSのバケット名(gs:// は不要) |
:::
最後に、ファンクションのコードの入力項目を埋めて、デプロイします。
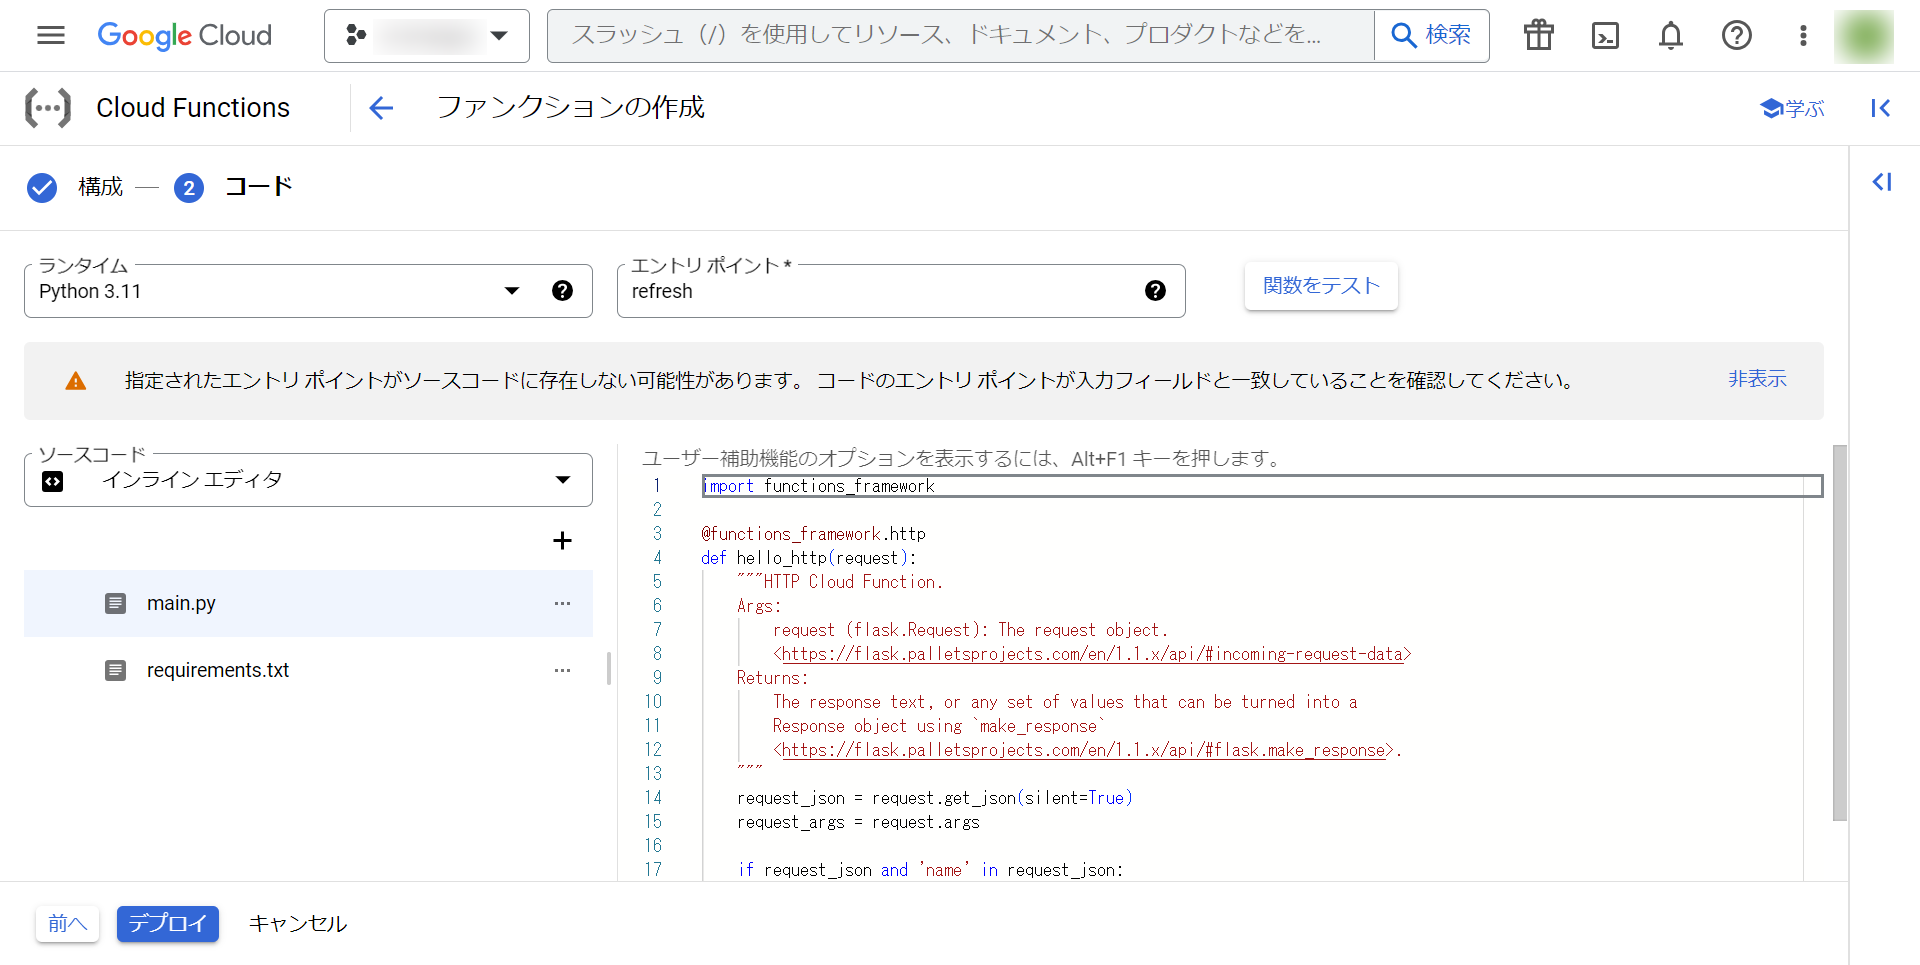
入力項目
-
ランタイム
-
Python 3.11を選択します。
-
main.py
:::details コード
pythonfrom __future__ import annotations import os import functions_framework from google.cloud import discoveryengine, storage project_id = os.getenv("PROJECT_ID") search_engine_id = os.getenv("SEARCH_ENGINE_ID") gcs_bucket_name = os.getenv("GCS_BUCKET_NAME") # バケット名とprefix を指定すると、ディレクトリ一覧を取得できます def list_directories(bucket_name, prefix=""): client = storage.Client() blobs = client.list_blobs(bucket_name, prefix=prefix) files = [] for b in blobs: files.append(b.name) dirs = set() for file in files: tmp = "/".join(file.split("/")[0:-1]) + "/**" dirs.add("gs://{}/{}".format(bucket_name, tmp)) return list(dirs) def import_documents_sample( project_id: str, location: str, search_engine_id: str, data_schema: str = "custom", gcs_bucket_name: str | None = None, gcs_prefix: str = "", bigquery_dataset: str | None = None, bigquery_table: str | None = None, ) -> str: # Create a client client = discoveryengine.DocumentServiceClient() # The full resource name of the search engine branch. # e.g. projects/{project}/locations/{location}/dataStores/{data_store}/branches/{branch} parent = client.branch_path( project=project_id, location=location, data_store=search_engine_id, branch="default_branch", ) uris = list_directories(gcs_bucket_name, gcs_prefix) uris_from_root_splitted = [uri[5:].split("/")[1:] for uri in uris] # remove "gs://bucket_name/" max_depth_from_root = max([len(uri_from_root) for uri_from_root in uris_from_root_splitted]) depth_prefix = len([folder for folder in gcs_prefix.split("/") if folder != ""]) max_depth_from_prefix = max_depth_from_root - depth_prefix uris_wildcard = [] for i in range(max_depth_from_prefix - 1): uri_depth_i_wildcard = f"gs://{gcs_bucket_name}{gcs_prefix}" + "/**" * (i + 1) uri_depth_i_wildcard = uri_depth_i_wildcard[:-1] uris_wildcard.append(uri_depth_i_wildcard) request = discoveryengine.ImportDocumentsRequest( parent=parent, gcs_source=discoveryengine.GcsSource( input_uris=uris_wildcard, data_schema=data_schema, ), # Options: `FULL`, `INCREMENTAL` reconciliation_mode=discoveryengine.ImportDocumentsRequest.ReconciliationMode.INCREMENTAL, ) # Make the request operation = client.import_documents(request=request) print(f"Waiting for operation to complete: {operation.operation.name}") response = operation.result() # Once the operation is complete, # get information from operation metadata metadata = discoveryengine.ImportDocumentsMetadata(operation.metadata) # Handle the response print(response) print(metadata) return operation.operation.name @functions_framework.cloud_event def refresh(cloud_event): response = import_documents_sample( project_id=project_id, location="global", search_engine_id=search_engine_id, data_schema="content", gcs_bucket_name=gcs_bucket_name, # 特定のディレクトリ以下を対象としたい場合、ディレクトリ名に変更してください。 # バケットに直接ファイルが入っている場合はこのまま gcs_prefix="", ):::
-
requirements.txt
:::details コード
pythonfunctions-framework==3.* google-cloud-storage==2.10.0 google-cloud-discoveryengine==0.11.2:::
-
エントリポイント
-
refreshと入力します。
以上でCloud Functionsの作成は終了です! これでCloud Storageのバケットにファイルがアップロードされると増分をVertex AI Searchのアプリのデータストアに追加してくれます。 しかし、このCloud FunctionsだけではCloud Storageのバケットのファイルが削除されたときにデータストアの更新ができません。その対処を以下で説明します。
3. Cloud Storageのバケットからファイルが削除された時の対応
Cloud Storageのバケットからファイルが削除された時の対応は、上記の方法とほとんど変わりません!以下の内容を変更して、もう1つファンクションを作成してください。
変更内容
-
トリガーのイベントの部分で「google.cloud.storage.object.v1.deleted」を選択します。
-
main.pyの75行目のコードを以下に変更
pythonreconciliation_mode=discoveryengine.ImportDocumentsRequest.ReconciliationMode.FULL
この2つを変更するとCloud Storageからファイルが削除されたことをトリガーにCloud StorageのバケットのすべてのファイルがVertex AI Searchのアプリのデータストアにインポートされます。
検証として、Cloud Storageのバケットにファイルをアップロード、または、削除して、Vertex AI Searchのアプリのデータストアのデータが変更されることを確かめてみてください!
最後に
今回はVertex AI Searchのアプリの作成とデータストアの自動更新について説明しました。Cloud FunctionsのトリガーとしてCloud Storageのバケットにファイルがアップロードされたときと削除されたときの2つのファンクションを作りましたが、今後の展望としては1つのファンクションにまとめる方法を探したいです。次の記事では、Slackからのコマンドとメッセージの受信について説明します。
参考
https://cloud.google.com/functions/docs/tutorials/storage?hl=ja#object_metadata_update
https://cloud.google.com/generative-ai-app-builder/docs/samples/genappbuilder-import-documents?hl=en